

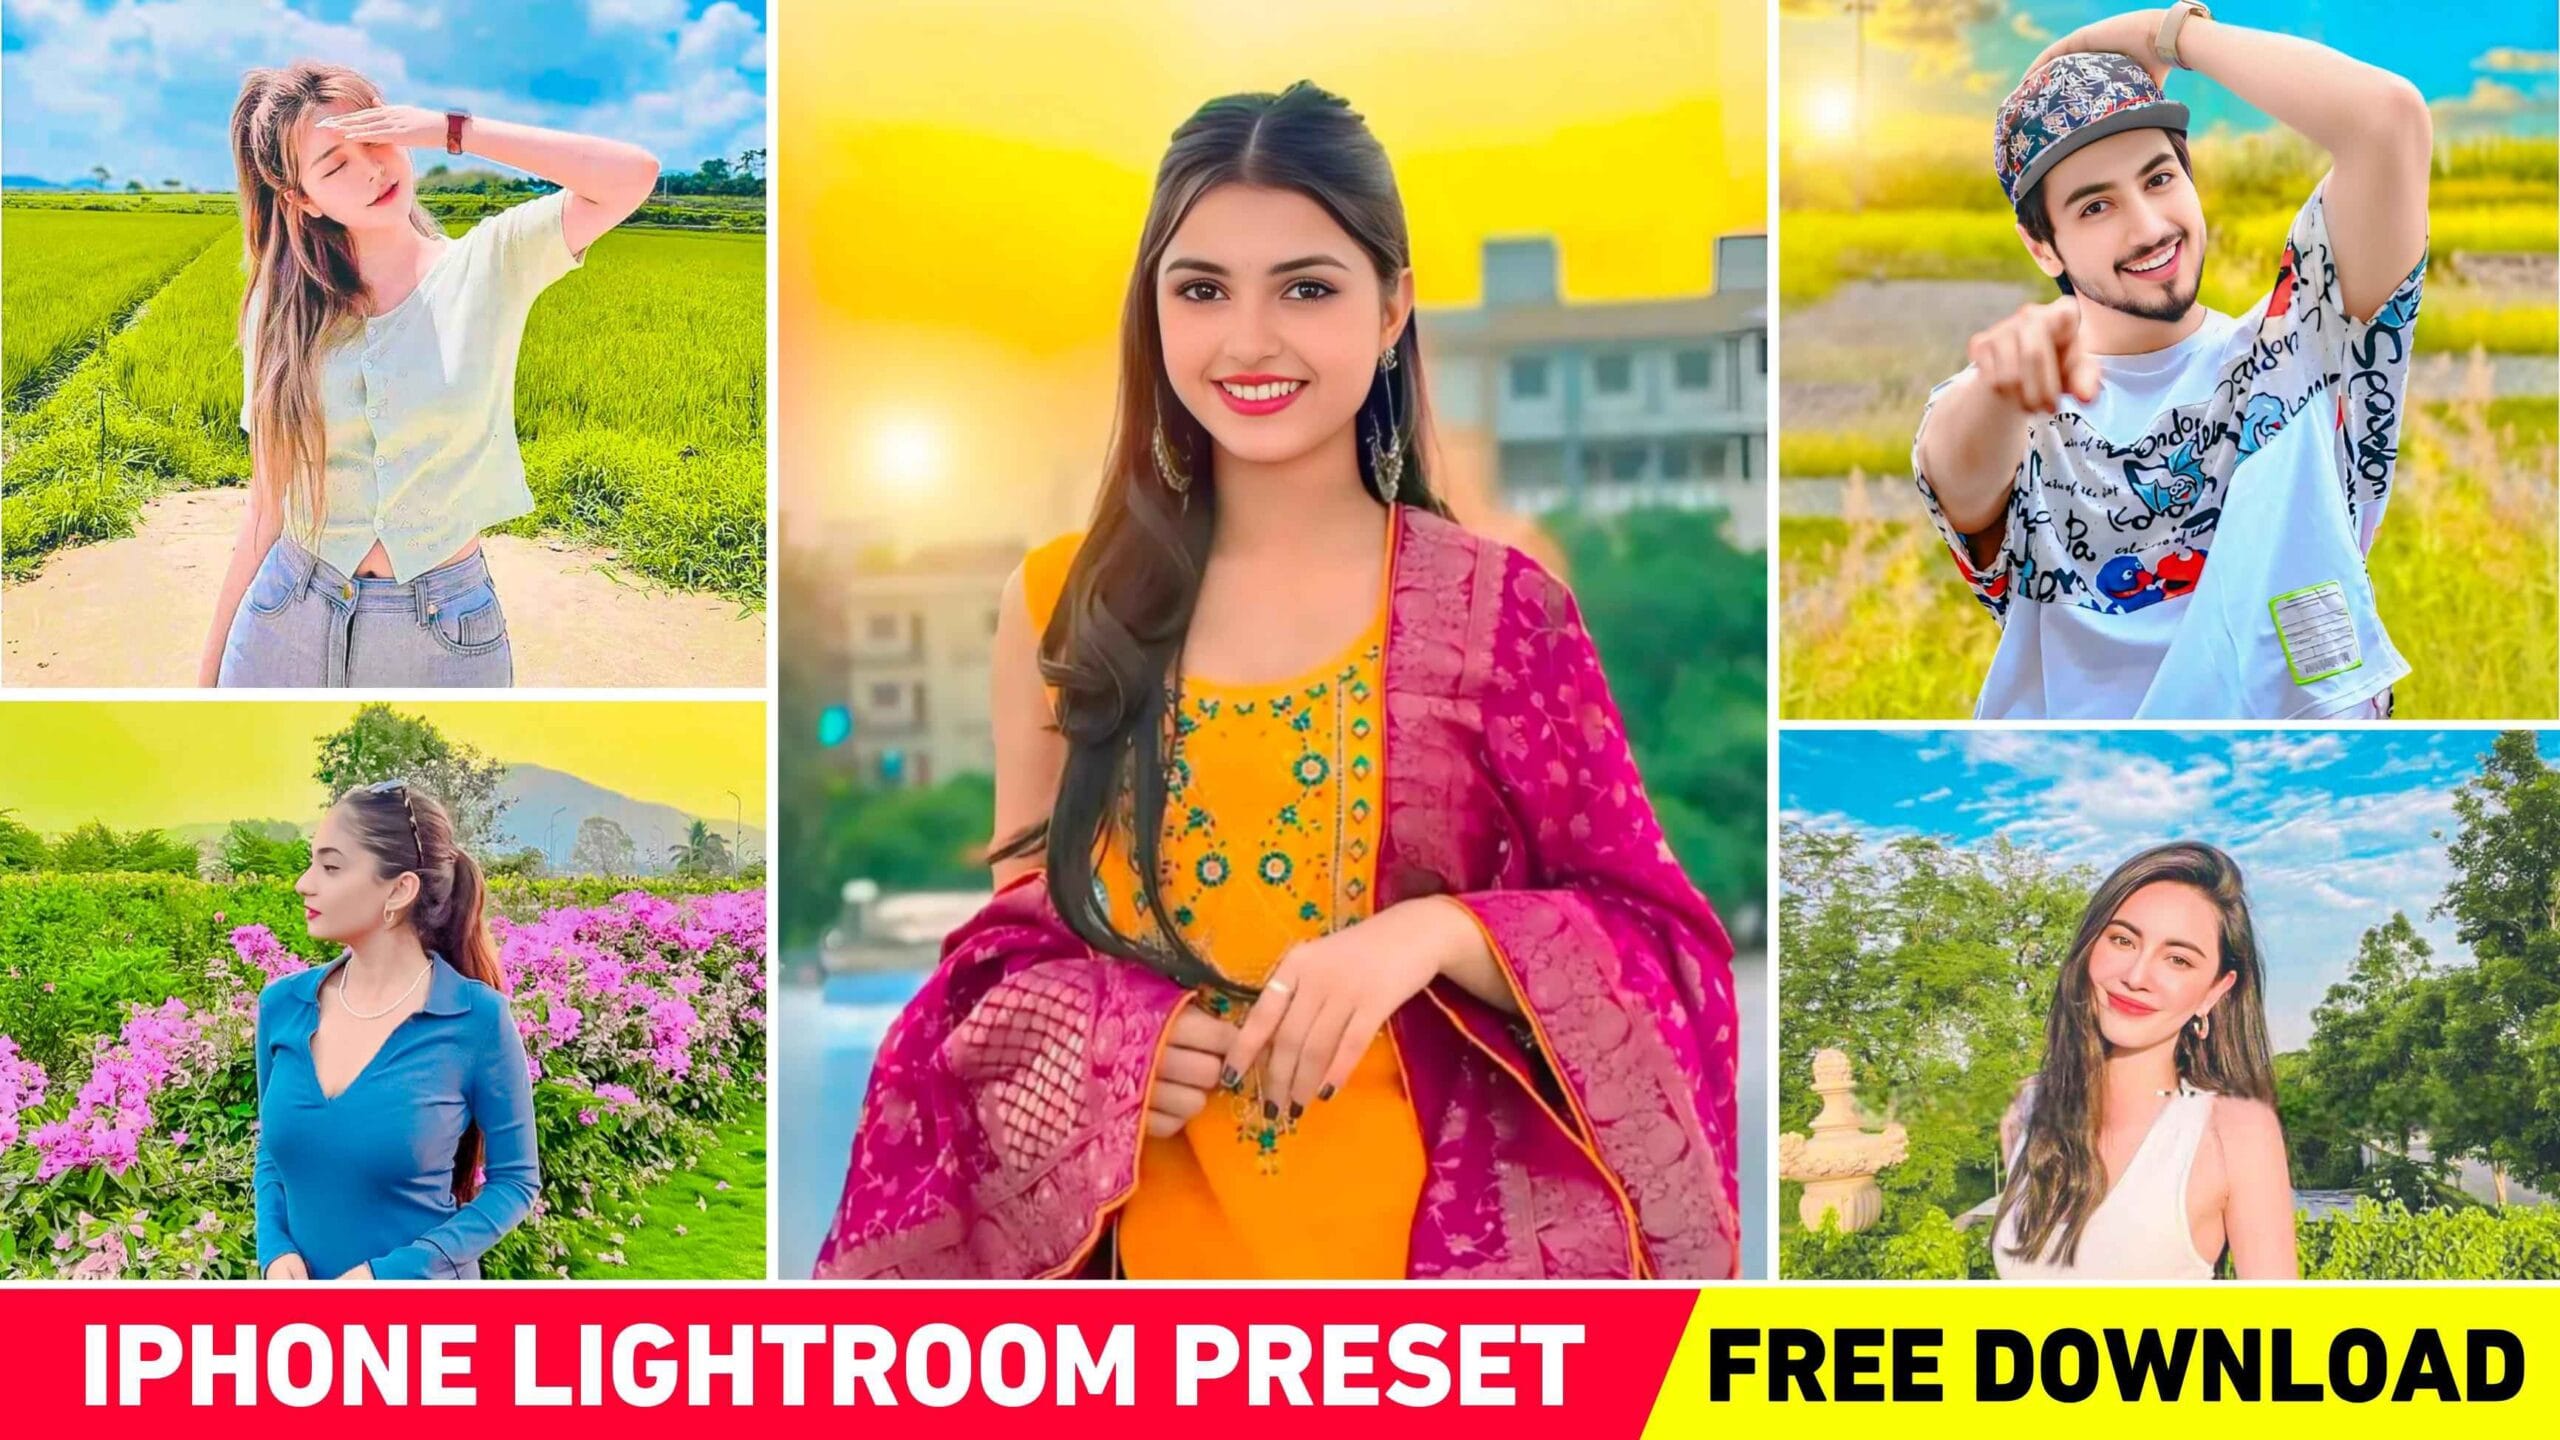
iPhone Filter Lightroom Presets – In today’s world, everyone loves beautiful photos. Whether you are taking selfies, editing travel photos, or creating content for social media, the right filter can change everything. Many people use Lightroom presets to make their photos look clean, stylish, and professional. If you are using an iPhone and want to improve your photos, then iPhone Lightroom presets can help you a lot.
This article will explain everything in simple words. You will learn what Lightroom presets are, how to get iPhone presets, and how to apply them easily using your mobile. Let’s get started!
What is Lightroom Presets?
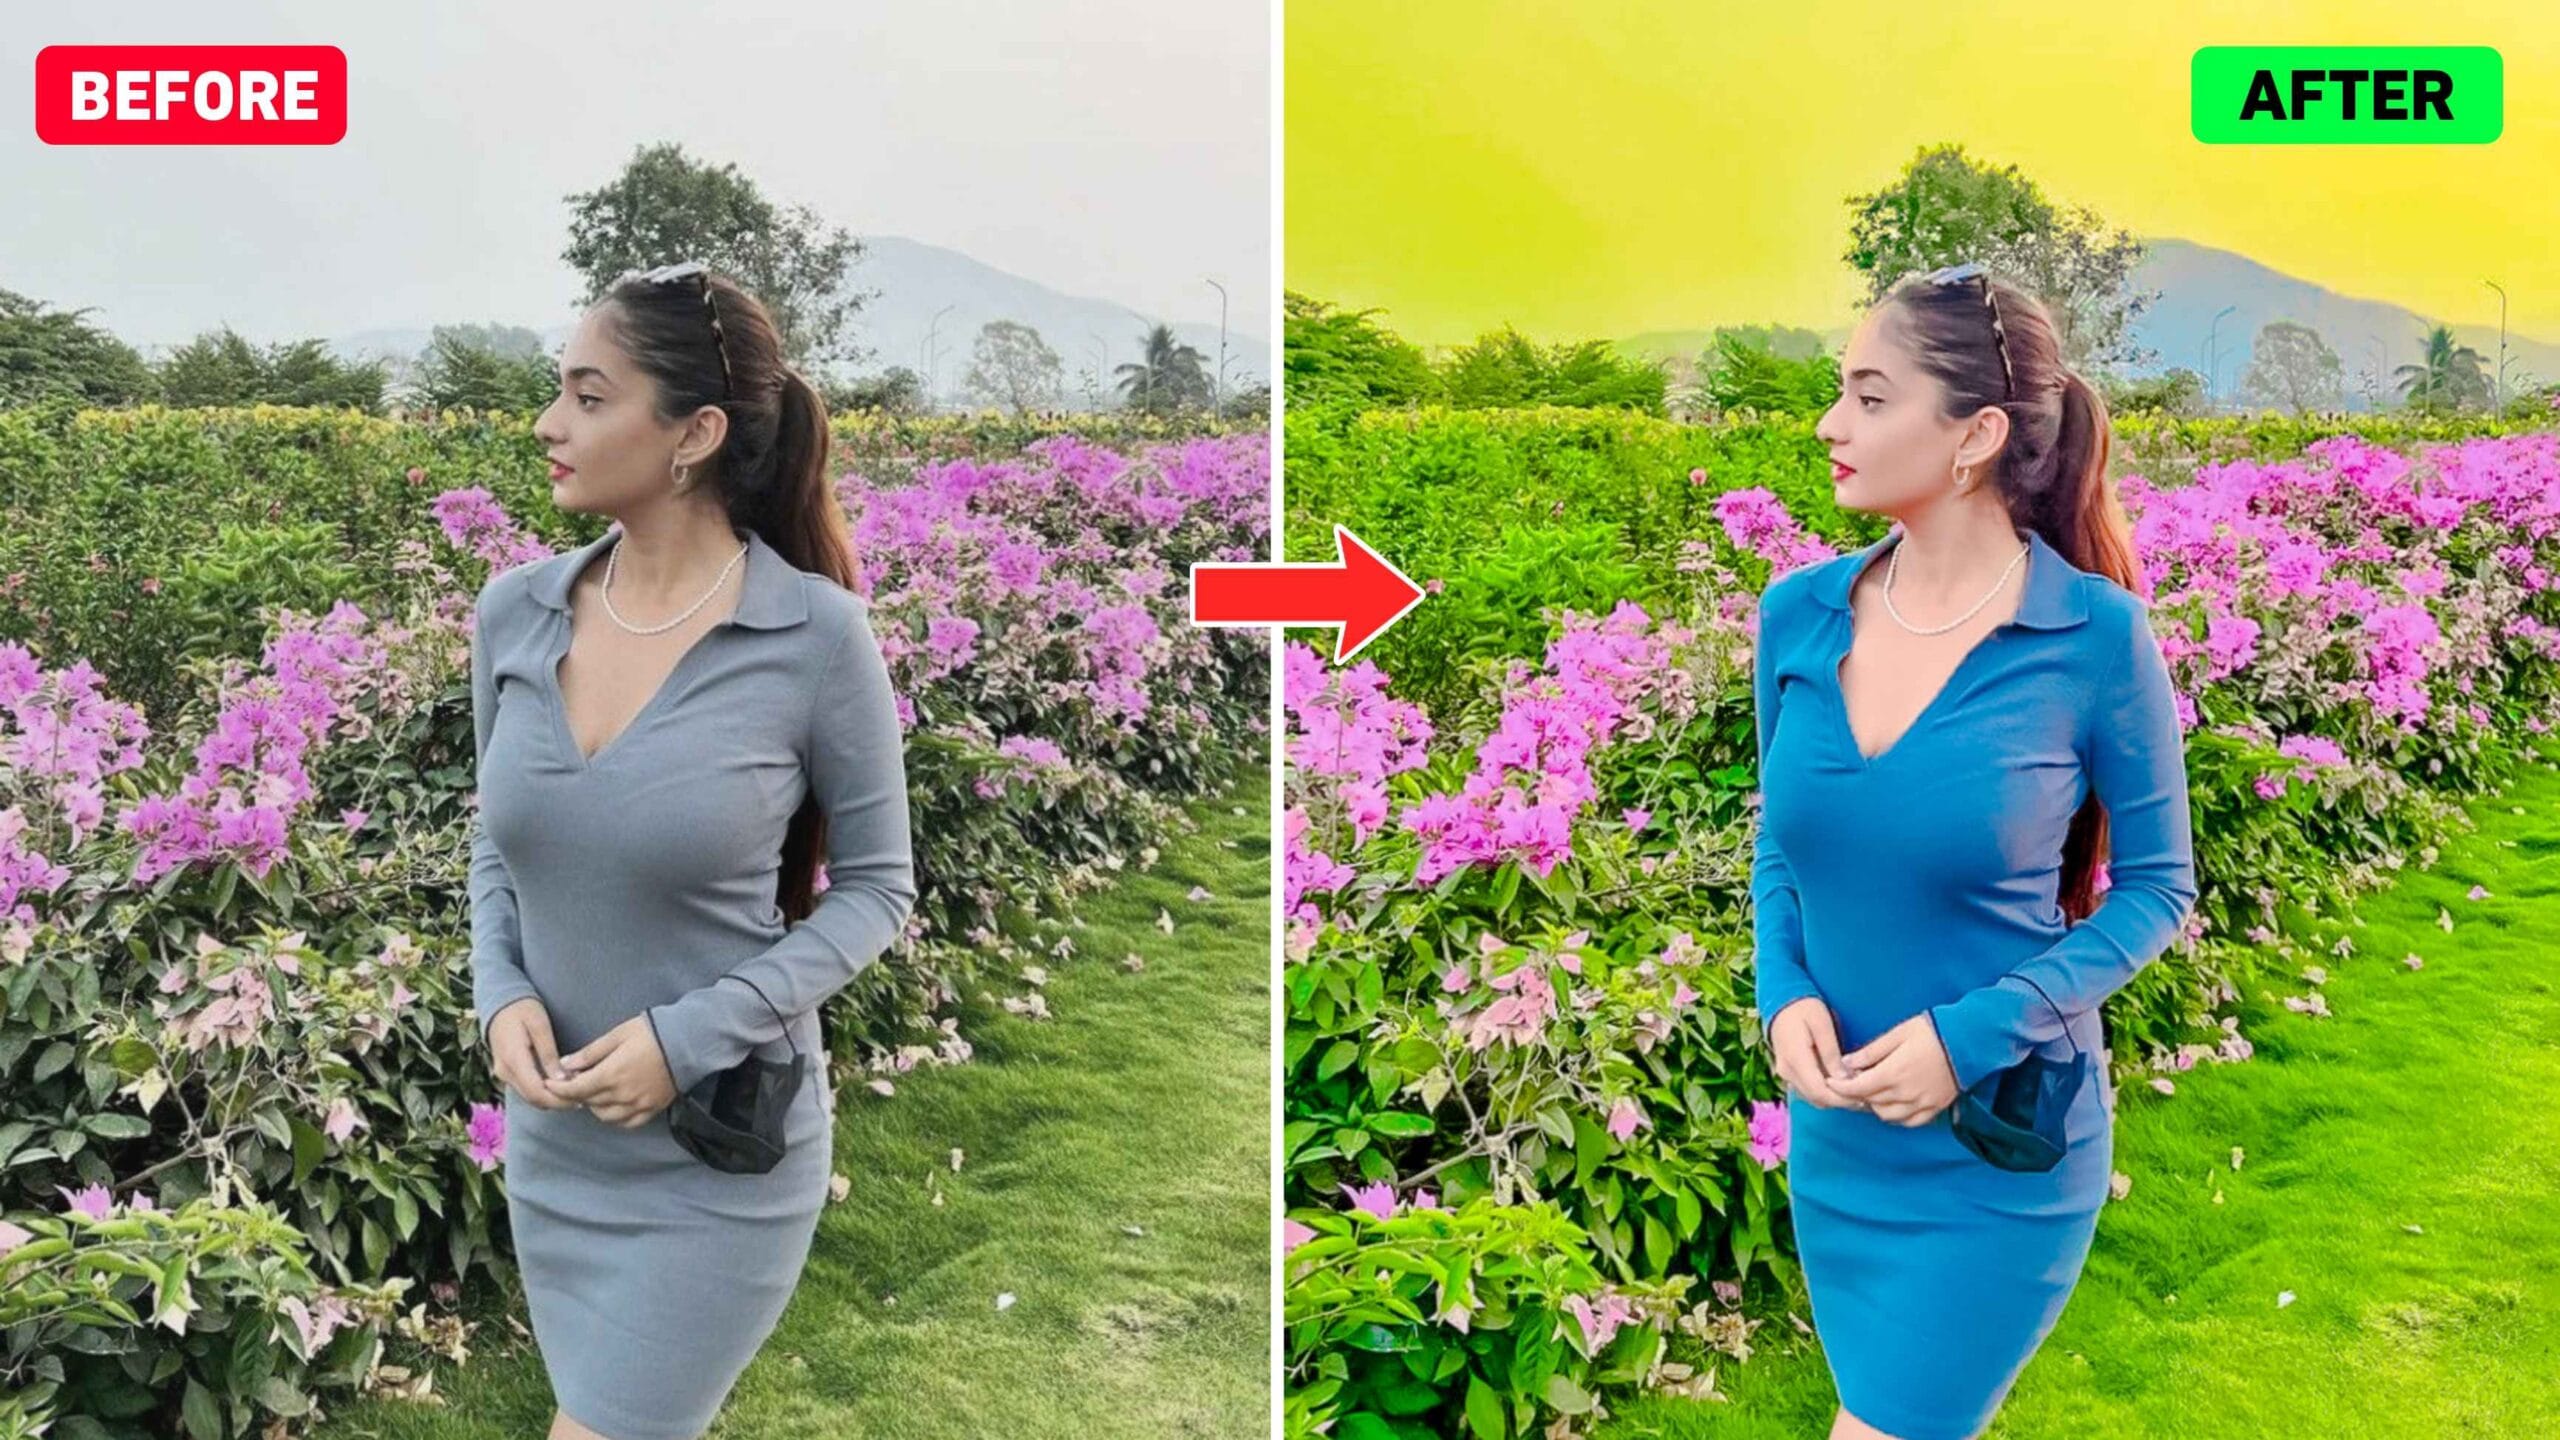
Lightroom presets are ready-made photo settings. Think of them as filters or styles you can apply to your pictures in just one click. These presets change the look of your photo by adjusting things like color, brightness, contrast, and shadows. Instead of editing your photos manually, presets do the job for you quickly and easily.
There are different types of presets available for different styles — such as black & white, cinematic, orange & teal, bright skin tone, and more. Many photographers and influencers use these presets to keep their Instagram feed or photo gallery looking consistent and beautiful.
Presets are made using Adobe Lightroom — a powerful photo editing app. You can find free and paid presets online. Once you download and import them into the app, you can use them again and again.
How to Get an iPhone Preset?
Getting iPhone Lightroom presets is easy and free if you follow the right steps. Many websites and blogs offer free download links for iPhone presets in XMP or DNG format. These are the two formats you will find when searching for presets.
Here’s how to get them:
- Search Online
Look for websites that offer free iPhone Lightroom presets. Use search terms like “Free iPhone Preset Lightroom Download” or “Best iPhone Lightroom Presets”. - Choose the Right Format
- DNG files are usually for mobile Lightroom.
- XMP files are for the desktop version but can be used on mobile too with help.
- Download the File
After finding the right preset, click on the download button. It will either be a direct download or a zip file. Unzip the file if needed using apps like ZArchiver. - Save to Phone
Once the file is downloaded, save it in your phone’s storage or gallery, so you can import it to Lightroom later. - Use Trusted Sources
Always use trusted blogs or YouTube channels that offer free and safe presets. Avoid unknown sites that may harm your phone.
That’s it! Once you have the preset, the next step is to learn how to apply it in Lightroom.
How to Apply Lightroom Presets?
Applying presets in Lightroom on your iPhone is simple. You just need to import the preset and apply it to your photo.
Here are the easy steps to do it:
Step 1: Install Lightroom App
First, download the Adobe Lightroom mobile app from the App Store. It’s free to use and very powerful.
Step 2: Open the App and Add Preset
- Open Lightroom.
- Tap the ‘+’ icon to add a photo.
- Select the DNG preset file from your phone’s gallery.
- The DNG preset will look like a blank image, but don’t worry — it works.
Step 3: Save Preset as Your Own
- Open the DNG preset file inside Lightroom.
- Tap on the three dots (•••) in the top-right corner.
- Select ‘Create Preset’.
- Name it something like “iPhone Bright Filter” and save.
Now, the preset is saved inside your Lightroom app.
Step 4: Apply Preset to Any Photo
- Add your photo into Lightroom.
- Scroll to the Presets section.
- Tap on the saved preset.
- Done! Your photo now looks professional in one click.
You can now edit your selfies, portraits, travel pictures, or reels using these amazing iPhone presets without needing a computer.
Download Iphone Filter Lightroom Presets
We have told you how to use iPhone presets in the Lightroom app or how to use any DNG preset in the Lightroom app, now, let us tell you how to download iPhone photo editing Lightroom presets for photo editing. I am telling you some points below, which if you read then you will find it easy to download the preset
- Tap on the red colour buttonselect these presets, and import to Lightroom. Versatile Lightroom, these presets in Lightroom from choice.
- Menu decides to duplicate the settings presently open your photograph in Lightroom from the choice,
- menu pick glue setting.
Conclusion
Lightroom presets are a great way to give your photos a stunning and professional look without spending hours editing. If you use an iPhone, these presets can take your mobile photography to the next level. They are easy to get, easy to apply, and they save you a lot of time.
By understanding what Lightroom presets are, how to download iPhone presets, and how to apply them, you can turn any ordinary photo into something amazing.
FAQs
Q1: What is Lightroom Presets?
Lightroom presets are pre-made filters or settings that help edit photos in one click. They change colors, brightness, and other things to make your photo look better and more stylish.
Q2: How to Get iPhone Preset?
You can get iPhone Lightroom presets from free websites or blogs. Just download the preset file (DNG or XMP format) and import it into the Lightroom mobile app.
Q3: How to Apply Lightroom Presets?
Open the Lightroom app, import the preset file, save it as your own preset, and apply it to any photo by tapping the “Presets” tab.
Expert tech creator and best photo and video editor since 2018.